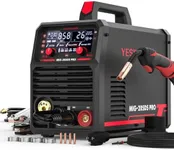
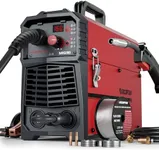
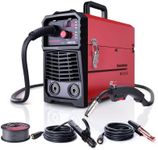
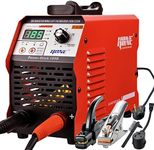
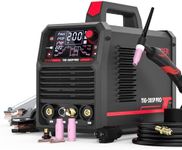
Buying Guide for the Best Welder For Beginners
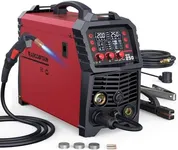
Choosing a welder as a beginner can feel overwhelming, but focusing on your needs and understanding the key features will help you make a smart choice. Start by thinking about the types of projects you want to tackle, the materials you'll be working with, and how often you plan to use the welder. By learning about the main specifications, you can match a welder to your skill level and project requirements, making your welding experience safer and more enjoyable.Welding Process (MIG, TIG, Stick)The welding process refers to the method the welder uses to join metals. MIG (Metal Inert Gas) is generally the easiest for beginners, offering quick learning and clean welds on thin to medium materials. TIG (Tungsten Inert Gas) provides more precision and is great for thin metals but requires more skill and patience. Stick welding is versatile and works well outdoors or on rusty materials, but it can be messier and harder to master for beginners. Consider what materials and projects you plan to work on—MIG is often the best starting point for most beginners.
Input Power (Voltage)Input power is the voltage the welder requires to operate, usually either 110/120V (standard household outlets) or 220/240V (higher power, often found in garages or workshops). Lower voltage welders are more portable and suitable for light-duty work, while higher voltage models can handle thicker materials and longer welding sessions. If you’re just starting and plan to work at home, a 110/120V welder is usually sufficient. If you anticipate working on heavier projects or have access to higher voltage outlets, consider a dual-voltage model.
Amperage RangeAmperage range determines the thickness of metal you can weld. Lower amperage is suitable for thin materials, while higher amperage is needed for thicker metals. Beginners often work with thinner materials, so a welder with a range starting around 30-140 amps is usually enough. If you plan to weld thicker steel or do more demanding projects, look for a welder with a higher maximum amperage. Match the amperage range to the types of materials and projects you expect to handle.
Duty CycleDuty cycle is the amount of time a welder can operate continuously within a 10-minute period before needing to cool down. For example, a 20% duty cycle at 90 amps means you can weld for 2 minutes and then must let the machine rest for 8 minutes. A higher duty cycle is important for longer or more frequent welding sessions, while a lower duty cycle is fine for short, occasional use. Beginners usually don’t need a high duty cycle unless planning extended projects.
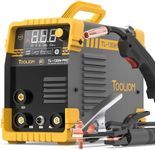
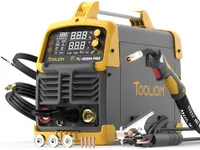
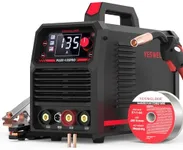
Portability and WeightPortability and weight refer to how easy it is to move and store the welder. Lighter, more compact welders are easier to carry and store, making them ideal for beginners who may not have a dedicated workshop. Heavier welders are often more powerful but can be cumbersome. If you need to move your welder around or have limited space, prioritize a lighter, portable model.
Ease of Use and ControlsEase of use includes how simple the controls are and whether the welder offers features like automatic settings or clear instructions. Beginners benefit from welders with straightforward controls, easy setup, and helpful guides or displays. Look for models that are designed with beginners in mind, as these will help you learn faster and avoid frustration.
Safety FeaturesSafety features such as thermal overload protection, proper insulation, and clear indicator lights help prevent accidents and protect both you and the machine. For beginners, these features are especially important as they provide extra peace of mind while you’re learning. Always check that the welder includes basic safety mechanisms to ensure a safer welding experience.