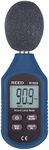
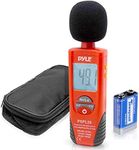
Buying Guide for the Best Sound Level Meters
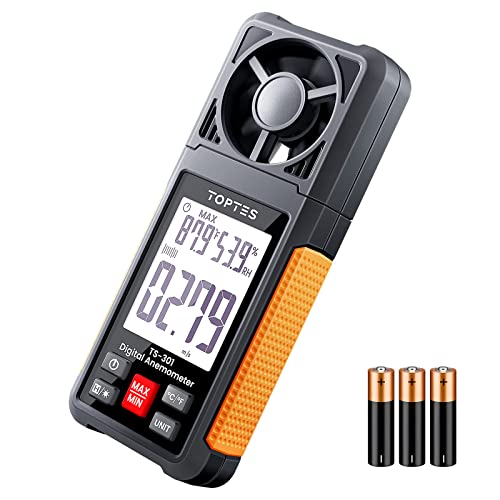
Choosing the right sound level meter is all about understanding your needs and matching them to the features that matter most. Sound level meters are used to measure the intensity of sound in an environment, which can be important for everything from workplace safety to home audio setup or environmental monitoring. Before you buy, think about where and how you’ll use the meter, the level of accuracy you need, and whether you’ll need to record or analyze the data later. By focusing on the key specifications, you can find a meter that’s easy to use and gives you reliable results for your specific situation.Measurement RangeThe measurement range tells you the quietest and loudest sounds the meter can accurately measure, usually given in decibels (dB). This is important because if the sounds you want to measure are outside this range, the readings won’t be accurate. Lower ranges (like 30-80 dB) are good for quiet environments such as libraries or homes, while higher ranges (up to 130 dB or more) are needed for loud places like concerts or construction sites. To pick the right range, consider the typical noise levels in your environment and choose a meter that covers those levels comfortably.
AccuracyAccuracy refers to how close the meter’s readings are to the actual sound level. This is usually given as a plus or minus value (for example, ±1.5 dB). Higher accuracy is important if you need precise measurements, such as for legal compliance or scientific work. For general use, a standard accuracy is often enough, but if you need to meet regulations or standards, look for meters with higher accuracy ratings.
Frequency WeightingFrequency weighting describes how the meter responds to different frequencies of sound, with the most common types being A, C, and Z weighting. A-weighting mimics the way human ears hear, making it best for general noise measurement. C-weighting is used for measuring louder sounds and low-frequency noise, while Z-weighting is flat and measures all frequencies equally. Choose A-weighting for most everyday or workplace measurements, but if you’re dealing with very loud or low-frequency sounds, consider a meter that offers C or Z weighting as well.
Response TimeResponse time determines how quickly the meter reacts to changes in sound. There are usually two settings: Fast (about 125 milliseconds) and Slow (about 1 second). Fast response is useful for capturing quick changes in noise, while Slow response smooths out the readings for a more stable average. If you need to measure sudden noises, use Fast; for general background noise, Slow is often easier to read.
Display and Data LoggingThe display shows the sound level readings, and some meters also offer data logging, which means they can store measurements for later review. A clear, easy-to-read display is important for quick checks, while data logging is useful if you need to track noise over time or analyze it later on a computer. If you just need spot checks, a simple display is enough, but for ongoing monitoring or reporting, look for data logging features.
CalibrationCalibration ensures that the meter gives accurate readings over time. Some meters can be calibrated manually with a calibrator, while others may have automatic calibration features. Regular calibration is important if you need reliable, repeatable results, especially for professional or regulatory use. If you’re using the meter for casual purposes, calibration is less critical, but for official measurements, make sure your meter can be calibrated easily.
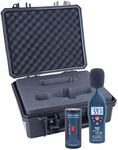

![Hand-Held Sound Level Meter,V-Resourcing 30~130 dB Decibel Noise Measurement Tester with Backlight Digital LCD Display for Indoor/Outdoor Uses [Max/Min/Hold Function]](https://images-proxy.bestreviews.guide/N-qnFMOWRB-QRXHFZS5DI-1UNS8=/0x150/https://m.media-amazon.com/images/I/31dCiJgEyCL._AC_CX679_.jpg)